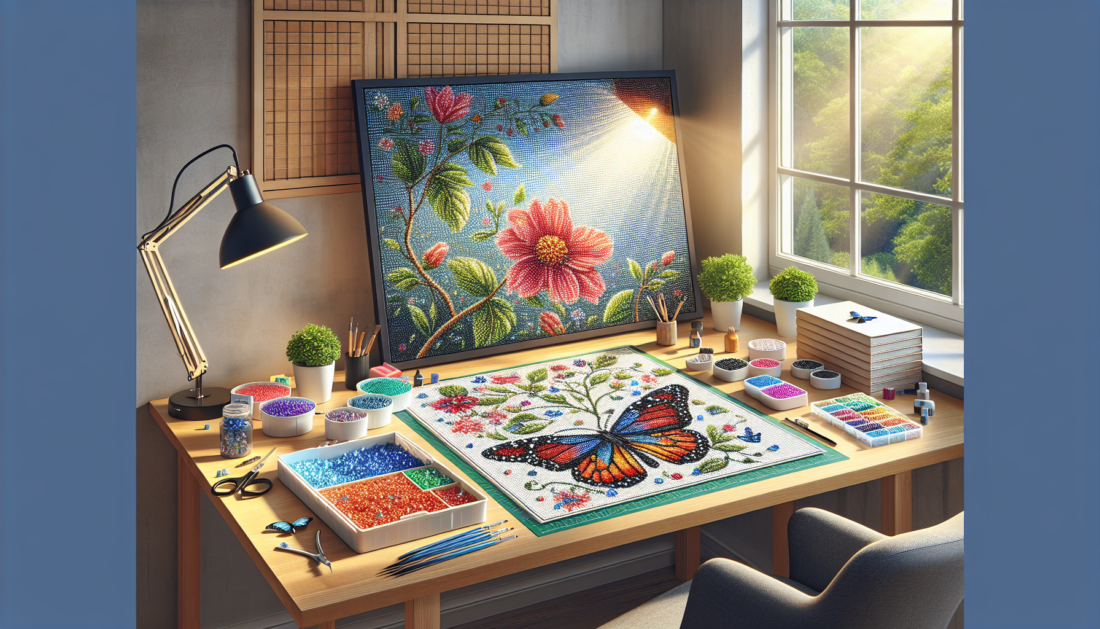
If you’re venturing into the world of DIY crafts for the first time, diamond painting offers a sparkling start. This craft has captivated the hearts of art enthusiasts and DIYers alike for its simplicity and the breathtaking results it yields. Essentially, diamond painting involves sticking tiny, shiny resin diamonds onto a canvas to create a mosaic masterpiece. With sites like heartfuldiamonds.com at the forefront, offering customizable kits and high-quality materials, diving into diamond painting has never been easier or more appealing.

Understanding the basics of diamond painting
Before you dive headfirst into your first diamond painting project, let’s break down the basics. At its core, diamond painting is a blend of cross-stitch and paint-by-numbers. You’ll work with a canvas that’s pre-printed with a design, each section marked with a symbol that corresponds to a specific color of diamond. Your toolkit typically includes the canvas, resin diamonds, a pen-like tool for picking up the diamonds, and a tray to hold them. As you might have guessed, the main attraction of this craft is the dazzling, faceted diamonds that bring your artwork to life with their shimmer.
Choosing your first project
Starting small is a wise choice for first-time diamond painters. Pick a design that genuinely interests you, but keep it simple to avoid feeling overwhelmed. Keep in mind that the larger the design, the more detailed and time-consuming it will be. Animals, flowers, and simple landscapes are great starting points. They offer enough variety and challenge without being too intricate. Remember, the joy of diamond painting lies in the process as much as the final product.
Getting your space ready
Before you start, ensuring your workspace is well-organized and inviting is crucial. A clutter-free table with plenty of light makes the perfect spot. Invest in a good lamp if you plan to work in the evening, and find a comfortable chair that supports your back. Additionally, sorting your diamonds and tools beforehand can save you time and frustration later. Small, labeled containers for your diamonds can be a game-changer, helping you swiftly find the colors you need without interrupting your flow.
The step-by-step process
With your workspace set and your kit unpacked, you’re ready to embark on your diamond painting journey. Start by peeling back a corner of the canvas’s protective film, not the whole thing at once, to prevent dust or debris from sticking to the adhesive. Use your pen tool to pick up a diamond by pressing its tip into the wax, then press the diamond onto its corresponding symbol on the canvas. It’s a simple pick-and-place process but requires a bit of patience and precision, which you’ll develop with practice. For an even appearance, try to keep all diamonds facing the same direction.
Beyond the basics: honing your skills
As you become more comfortable with the techniques, you might find yourself breezing through projects and ready for more intricate designs. This is the perfect time to explore custom kits, where you can transform personal photos or favorite images into diamond paintings. It’s a thrilling way to personalize your craft further and create truly unique pieces that hold special meaning.
Wrapping up your masterpiece
Completing your diamond painting is undeniably satisfying. After admiring your work, consider sealing it with a sealant to protect the diamonds and ensure they stay in place. Then, think about how you want to display your sparkling creation. Whether framed and hung on a wall or incorporated into functional art like a decorative tray, your diamond painting can add a personal touch to your home. Diamond painting isn’t just about creating something beautiful; it’s about enjoying the therapeutic journey there. So, grab your kit, and start this sparkling adventure.


