I was really excited when I was asked to review the Silhouette Glass Etching Kit and the Silhouette machine. Right now Silhouette is having a great deal for Bragging Mommy Readerhttps://www.thebraggingmommy.com/wp-content/uploads/2013/09/silouette.jpgs!
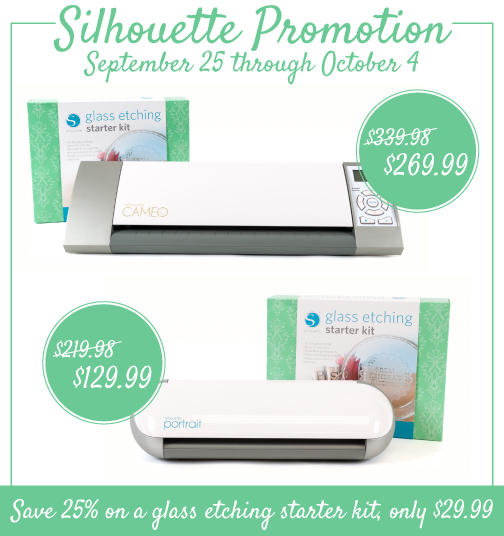
(1) A Silhouette CAMEO® and a glass etching starter kit for $269.99. The CAMEO is normally $299.99 so this offer is $30 off the machine and you get a free kit included.
or
(2) A Silhouette Portrait™ and a glass etching starter kit for $129.99. The Portrait is normally $199.99 so this offer is $70 off the machine and you get a free kit included.
or
(3) A glass etching starter kit without a machine (typically existing customers who already have it) for $29.99. That’s 25% off the kit’s regular price of $39.99.
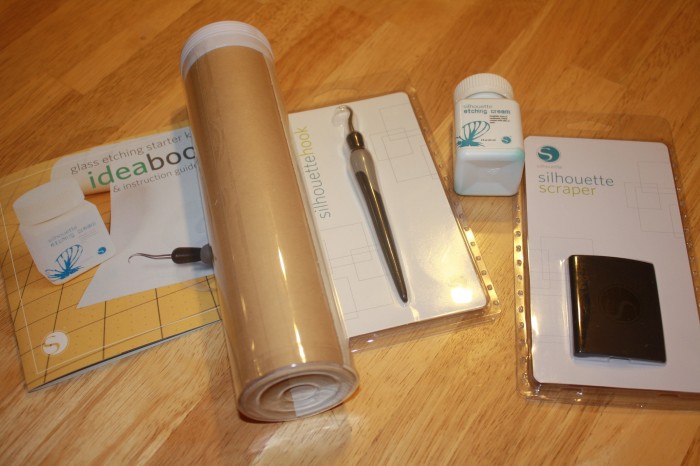
- Etching cream (2 fl oz)
- Stencil vinyl (9 in x 3 ft)
- Transfer tape (9 in x 3 ft)
- Silhouette hook
- Silhouette scraper
- 10 exclusive etching designs
- Instructional DVD
- Idea/Instruction book”
I got some really great ideas from looking on the Silhouette Blog and the Silhouette website. I decided to go with one of the etching designs that were included in my kit. I really liked the cute mustache and heart and thought of doing His and Hers Sparkling Cider/Wine Glasses!
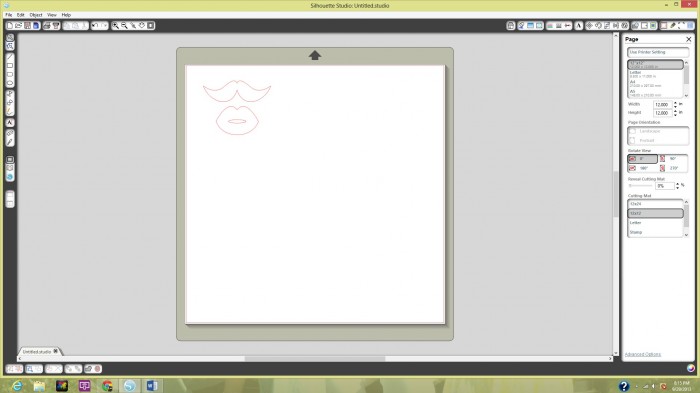
At first I was pretty confused on how to use the Silhouette machine since I had never used it, but I found the Instructional DVD really useful and also there are a ton of videos on YouTube that go step by step.
So the 1. first step is to pick your design and make the design in the Portrait Studio and to connect your Silhouette machine to the computer of course!
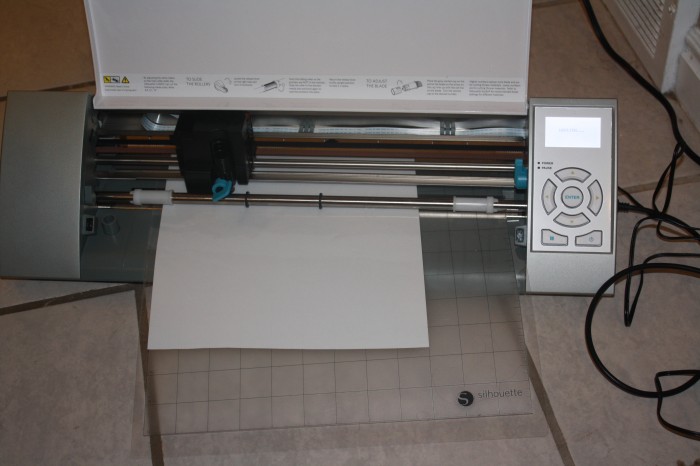
2. Print out and Cut the Vinyl using your Silhouette Maker . ( What I love about the Silhouette Machine is it tells you the exact number the blade and rollers need to be at depending on the material you are cutting!
3. Take Your Silhouette Hook Tool and carefully remove the design so it makes a stencil with the negative space. This was the part that I didn’t quite understand until my husband helped me!
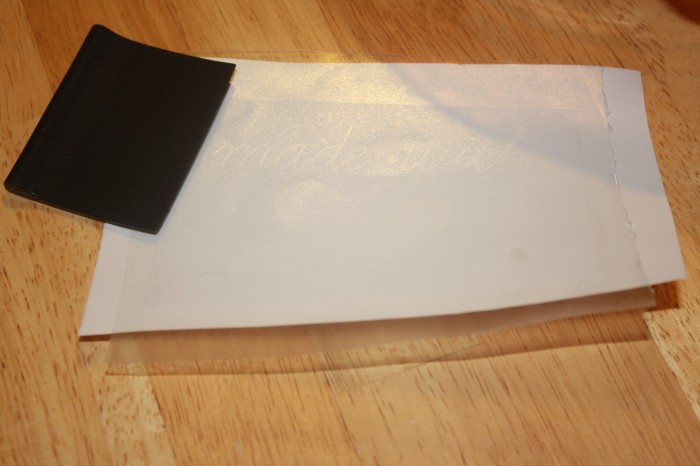
4. Cut the transfer paper to fit the vinyl stencil exactly, use the scraper to make sure that the transfer paper adheres completely to the vinyl stencil. Then carefully apply the adhesive side of the vinyl over your project and make sure to get out all of the bubbles!
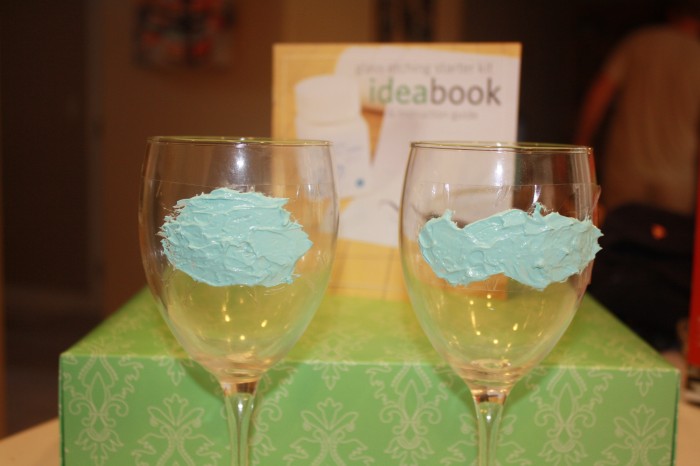
5. Peel away transfer tape leaving just the stencil. Apply with the scraper or cotton swab the etching cream (use a thick amount) I would also wear protective gloves because it’s quite potent! Let the cream set for 30-60 seconds. I actually left it for 2.5 mins just to be safe!
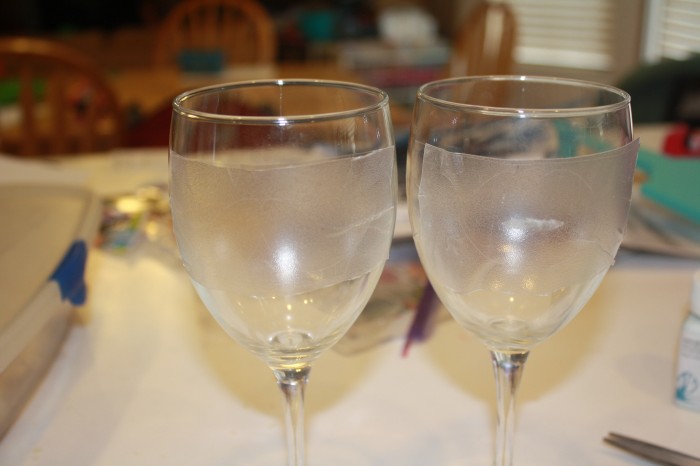
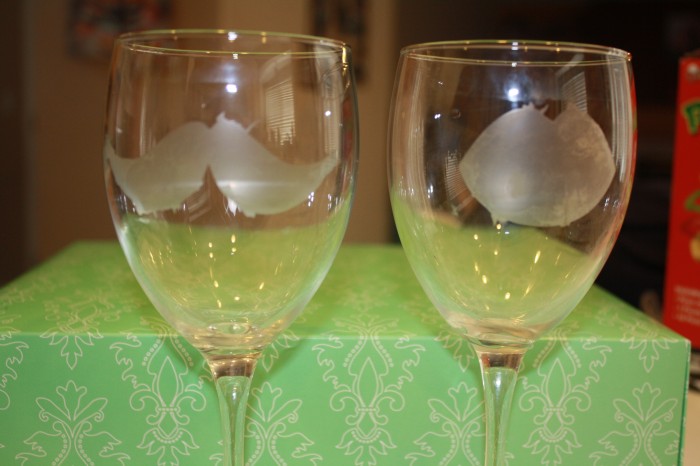
6. Carefully Scrape the remaining cream back into the bottle. Wipe any etching cream away with a paper towl and wash the glass thouroughly. Then Peel the vinyl off of the surface of the glass…and Wahlah!
I was extremely pleased with how well these cute glasses turned out!
Please visit www.silhouetteamerica.com/ to purchase yours and don’t forget to use the promo code listed above!
The Silhouette Glass Etching Kit gets Bragging Rights!

