You must have glanced at that exhausted part of your home, wishing it were magic and changed with the wave of an enchanted wand. Be it the crumbling outer wall that speaks loudly for renovation or an interior asking for a new look, all homeowners think of how to handle renovation issues involving demolition and cement rendering. This article will prove that a practical home improvement outline should involve key considerations from demolition to rendering for a well-succeeded renovation project. We go into the critical planning stages, including budgeting and design; we delve into the intricacies of the renovation process proper in all its respects, from safe and efficient quality demolition through to achieving that flawless cement render finish; and we debate the big decision about whether to DIY or call in the professionals. Finally, we discuss some necessary tips for a smooth and successful renovation journey.
Planning & preparation: the foundation of a successful reno
Before you even think about picking up a sledgehammer or mixing a batch of renderings, you need a solid plan. This is where magic happens instead; it doesn’t happen if you skip it. Think of it like building a house-you wouldn’t start without blueprints, would you?
- Define the scope: What do you want to achieve? Do you want to demolish an interior wall to open up your living space or give the exterior of your home a facelift with a stylish new render? Be specific. The more detail you have, the smoother the process will be.
- Budgeting: Let’s talk dosh. Renovations can be expensive, so having a realistic budget set is crucial.
- Plan for everything: the materials needed, like cement, sand, render, etc., labour a time, you will be hiring tradies-permits, and a contingency fund for those hiccups that always pop up.
- Design & Inspiration: The fun part! Begin to brainstorm ideas. From Pinterest and home magazines down to a leisurely walk around your neighbourhood for inspiration, consider the style you want and how it will tie in with what’s there. For render, consider texture and colour, considering how it goes with your landscaping.
- Hiring Professionals: Unless you try to be a professional DIYer, you’ll probably need to bring in the pros for the tricky elements, including structural demolition and rendering.
- Do your research! Get quotes from several contractors, check their previous work, and read reviews. A good tradesman is worth their weight in gold. Hiring a builder specialising in quality demolition may be worth hiring if you do a substantial demolition. They will do the job safely and efficiently with as slight a potential headache as possible.
- Permits & Regulations: No one likes a visit from the council inspector in the middle of reno. Check with your local council about what permits you may need for demolition and rendering, especially if it’s structural. It may seem an unnecessary hassle, but it better be safe than sorry.
The Renovation
Okay, now on to the good stuff. Here is where it goes live.
- Demolition: It is not just about a hammer but a thought-out demolition process.
- Planning the demolition: Is this a load-bearing wall? Are there electrical wires or plumbing pipes lurking behind? These are the questions that must be answered before you start swinging.
- Safety first: Safety gear is non-negotiable. Dust masks, safety glasses, gloves-the works. Demolition can get quite messy and possibly dangerous, so protect yourself.
- Controlled demolition: Go slow and steady. Just don’t smash it all down in one full swing. A controlled demolition minimises damage to surrounding areas and makes cleanup easier.
- Debris removal: Plan for waste disposal. Skip bins are your friends. Remember, some materials should go to their responsible landfills.
- Structural work (where necessary): If the demolition has revealed structural defects, sort them out as soon as possible. This could be framing, foundations, or roofing repairs/ replacements. Do not try to cut corners here; structural integrity is everything.
- Preparation for cement rendering: A good render job is all about preparation. Seriously, this is where the magic happens.
- Surface preparation: The surface should be clean, sound, and free of any loose material. This may involve pressure washing, scraping, or a bonding agent.
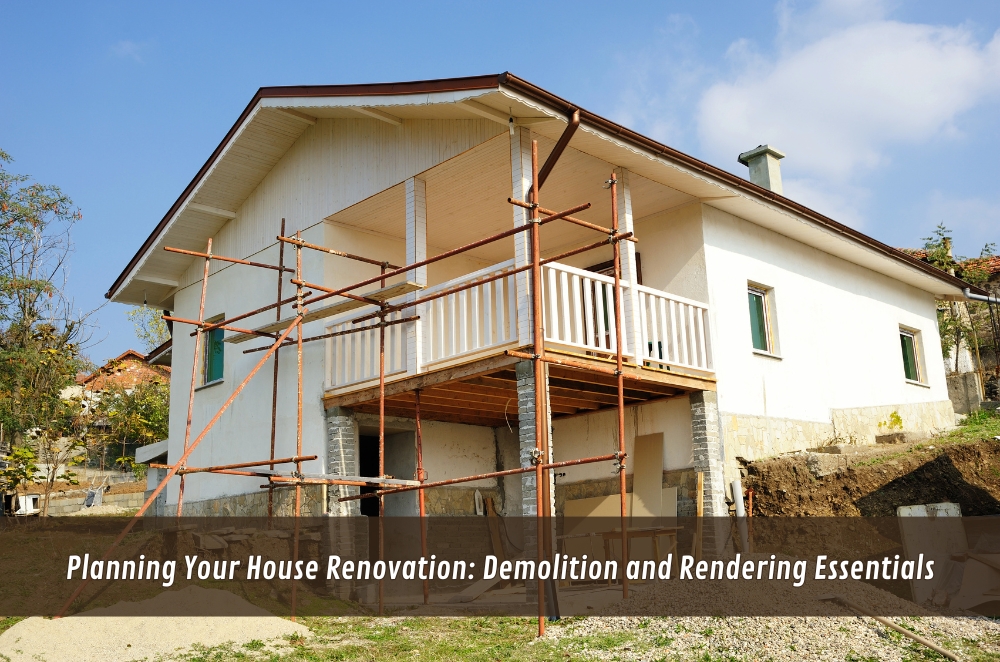
- Scaffolding: If you’re rendering exterior walls, scaffolding is essential for safe access.
Cement rendering
- Mix ratios: It is essential to get the mix right. It will sag if it is too wet, and if it is too dry, it will not adhere properly.
- Application techniques: Rendering is usually carried out in layers: scratch coat, brown coat, and top coat, all essential to the final finish.
- Finishing techniques: It is in the top coat that the desired texture-from smooth to rough, the options are endless-is created.
- Curing: Once the render is applied, it has to cure, that is, be kept wet for days so as not to crack. This process is similar to letting a cake cool down before you start icing it.
- Finishes (post-rendering, if needed): After the render has cured, you may want to paint or seal it for further protection.
Project-specific considerations
Each project has its particularities.
- Wall rendering exterior: Consider weather conditions. It’s impossible to render in very hot or rainy weather conditions. One should also consider the type of render to use. Acrylic, polymer-modified, and traditional are different types of plastic, and they have certain advantages and disadvantages.
- Interior wall demolition and redesign: This may involve more than external work. You could have to change the wiring, electrical, and plumbing and even shift walls. It is highly advised to seek the services of a professional in such cases.
DIY vs. Professional: Knowing your limits
Particular home improvement projects are doable for a DIYer, while others are better for professionals.
- Demolition: Light, non-structural demolition may be okay as a DIY project, but an experienced builder with quality demolition expertise needs to handle anything structural. Safety is paramount.
- Cement rendering: Rendering is an art. It takes skill and experience to achieve a smooth, even finish. Unless you’ve done this before, it’s best to call in professional cement rendering contractors.
Tips for Success
- Communicate: If you’re working with tradies, keep the lines of communication open. Regular updates and clear instructions mean everyone is on the same page.
- Be patient: Renovations take time. Don’t expect everything to be finished overnight. Be prepared for delays and stay flexible.
Post-renovation: The home stretch
Once the dust has settled and the tools are packed away, some work still needs to be done.
- Clean-up: A good cleanup is needed. Remove remaining debris and give it a good scrub.
- Inspection: Have a look at the finished product. Make sure that everything is up to scratch.
Conclusion
The success of the process requires meticulous planning and an understanding of the essential steps that must be followed. Each phase demands careful consideration, from defining your scope and budget to the cautious demolition and artful rendering application. Whether you choose the DIY route or enlist the expertise of professionals, remember that thorough preparation, attention to detail, and a commitment to safety are paramount. With this article for guidance, one will be well-prepared for the complications involved in renovation work and creating a beautiful, functional home that one will always feel proud of for years to come. So, take your time to plan, and research, and never feel afraid to seek help where it is needed. The right approach means your dream of a great-looking house renovation can come true.


